


As we begin to transition away from summer, we start to see our favorite fall ingredients emerge – ginger, caramel, pumpkin and of course, apple. As a home cook it’s time to transition your menus to match the season. The perfect place to start is with this delicious Apple Pie recipe from All-Star Baker Zoë Francois.
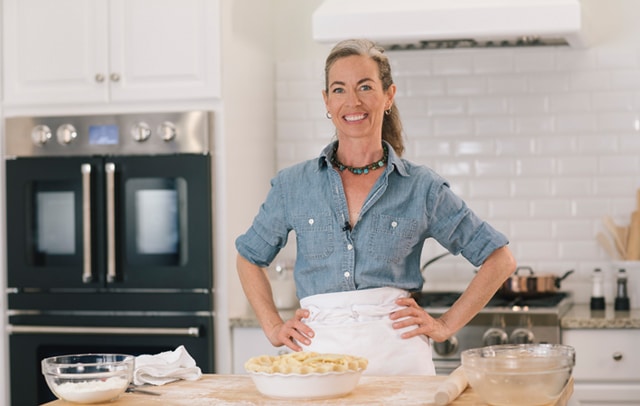
Zoë explains that what separates this apple pie from many others, “The key to a great pie is in the apples, I used six different varieties because in season there are so many gorgeous apples to choose from. They all have different flavors, textures and colors. Also, the crust is made with lard, which you really need to try. I am madly in love with lard. It requires a slightly gentle touch, but follow my directions and it will yield a tender, flaky and delicious crust,” says Francois.
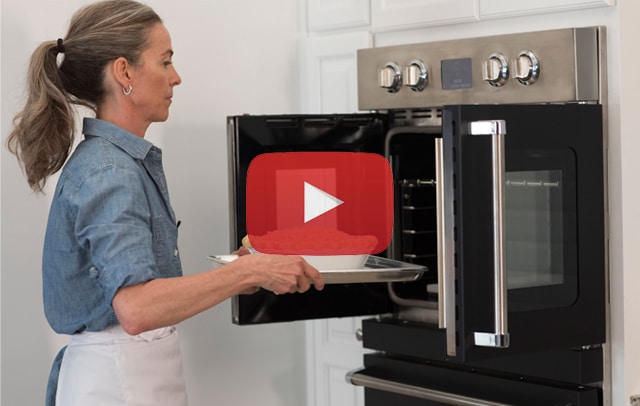
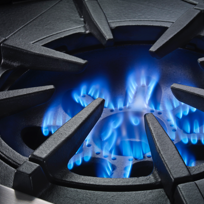
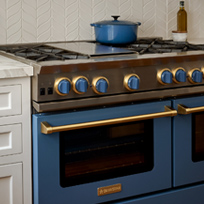
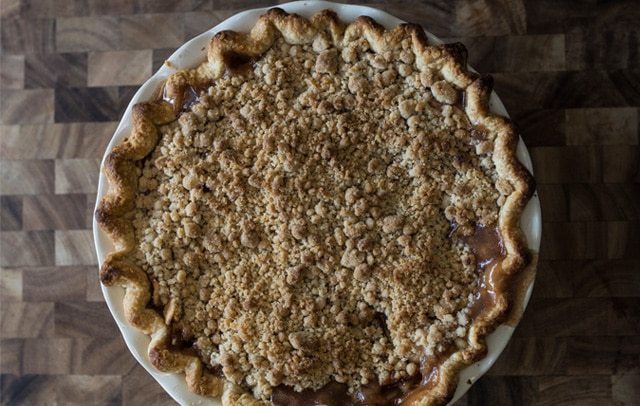
In the kitchen Zoë knows there are no compromises when it comes to the quality of the ovens. For this recipe Zoë cooked the pie directly on our integrated bake stone, the direct heat yielded an extra-crisp crust. BlueStar® electric wall ovens feature extra-large oven capacity, 2,500 watt bake element and 1,800 watt heat-assist for a faster pre-heat. This award-winning wall oven perfectly complements gas rangetops and induction cooktops for the complete chef’s kitchen.
All-Star Zoe Francois’ Best Apple Pie
The Crust (makes one 12″ double crusted pie):
- 3 cups unbleached all-purpose flour
- 3/4 teaspoon salt
- 1 tablespoon sugar
- 8oz lard, cut into 1/2″ pieces and frozen
- 1 egg
- 5 1/2 tablespoons ice cold water
- 1 teaspoon apple cider vinegar, actually any white vinegar will do
- Egg wash (1 egg + 1 tablespoon heavy cream)
- 1/4 cup raw Turbinado sugar, for the top of the crust
The Filling:
- 3lbs thinly sliced apples (about 4lbs whole)
- Chef Tip: Zoë uses Haralson, Braebum, Cortland, McIntosh, Gala and Granny Smith. Feel free to use your favorites, but be sure to use some that will keep their shape when baked.
- 1 cup raw Turbinado sugar
- Chef Tip: This gives a richer flavor than regular sugar. You can also use brown sugar, but may have to adjust amount if using sweeter apples.
- 1 teaspoon ground cinnamon
- 1/8 teaspoon ground clove
- 1/8 teaspoon ground nutmeg
- 1/4 teaspoon salt
- 3 tablespoons cake flour or cornstarch
- 2 teaspoons lemon juice
- 4 tablespoons unsalted butter, sliced into 6 pieces
Preparing the Pie Crust:
- Have all ingredients ready and chilled. If it is hot out she even puts the flour in the freezer for a little while which makes it easier to work with.
- Combine all flour, salt and sugar. Add the lard
- Use a pastry cutter or your hands to work the lard into the flour. (When using lard she likes the pastry cutter because her hands tend to be warm and the lard gets too mushy.) Work the lard into the flour until it starts to stick together when squeezed, but you want to keep some of the lard in pea-sized pieces. If the lard is too mushy and it won’t stay in pieces, place the bowl in the freezer for about 15 minutes and try again.
- Whisk the egg – add it along with the water and vinegar to the flour/lard mixture.
- Stir this with your hand or a wooden spoon, but be very gentle. The goal is to keep the pea-sized chunks of lard intact.
- When most of the flour is coming together, gently knead the dough into a ball. It should not be perfectly smooth, but it should also not seem dry and crumbly. Divide the dough into two pieces and create round disks.
- Wrap the dough in plastic and refrigerate for at least an hour or overnight.
To Roll out the Pie Crust:
- When you are ready to prepare the pie, roll one of the disks out on a well-floured surface. If the dough seems hard, let it sit at room temperature for about 10 to 15 minutes. This will prevent the edges from cracking too much. You still want the dough to be chilled, so the lard doesn’t get too soft.
- As you are rolling, you can round out the edges with your hands. Cracking edges are part of the beast, but this will help to keep them smoother.
- Once you have it rolled out to about 1/8″ thick round, measure the dough to make sure it will fit the 12″ pie plate. I usually just hold the plate over the dough and eye it. There should be about 2″ of extra dough beyond the bottom of the plate.
- Fold the dough over the rolling pin to lift it.
- Lift it over the plate and gently fit the crust into the plate. Do NOT trim the edges yet. Set the crust in the freezer while you prepare the filling.
- Preheat the oven to 425° F, with the rack at the bottom 1/3 of the oven.
- Peel, core and slice your apples.
- Mix together the sugar, spices, salt and cake flour in a small bowl. Toss the apples with the lemon and then the sugar mixture.
- Put the apples in the chilled pie crust and place the pats of butter on top.
- Roll out the second piece of dough and lay it over the top. Trim the top layer of dough to cover the apples completely.
- Fold the bottom crust over the top crust and then pinch them together in a decorative pattern. You an also use a fork to press them together.
- Put five 2″ long slits on the top of the crust to allow steam to escape.
- Brush the top of the apple pie with the egg wash and then cover with the sugar.
- Place the pie on a cookie sheet and bake for 20 minutes. After 20 minutes reduce the heat to 375° F and bake for another 40 minutes. (Keep an eye on the crust towards the end of the time for over browning. If the crust seems to be getting too dark tent a large piece of foil over it. You don’t want the foil to trap the steam or it will make your crust soggy, so just put it on loosely.)
- The filling should be bubbling and the crust golden-caramel-brown.
- Test the pie by poking the apples, through one of the slits, to see if they are soft. If they are still firm, bake the apple pie for another 10 – 15 minutes.
- Allow the apple pie to cool to room temperature, so that the apples will be set up when you slice them.
- Enjoy apple pie a la mode or with nothing extra at all.


